Dealing With SI Joint Pain Part 3: Effective Pilates Exercises For Sacroiliac Joint Pain Relief During Postpartum Recovery.
During the postpartum period, the strain of pregnancy and delivery can leave the sacroiliac (SI) joint vulnerable to dysfunction and pain. As the body recovers, the ligaments and muscles surrounding the SI joint at the pelvis require stabilization and strength. Gentle, targeted exercises can aid in realigning the pelvis, relieving SI discomfort, and restoring mobility.
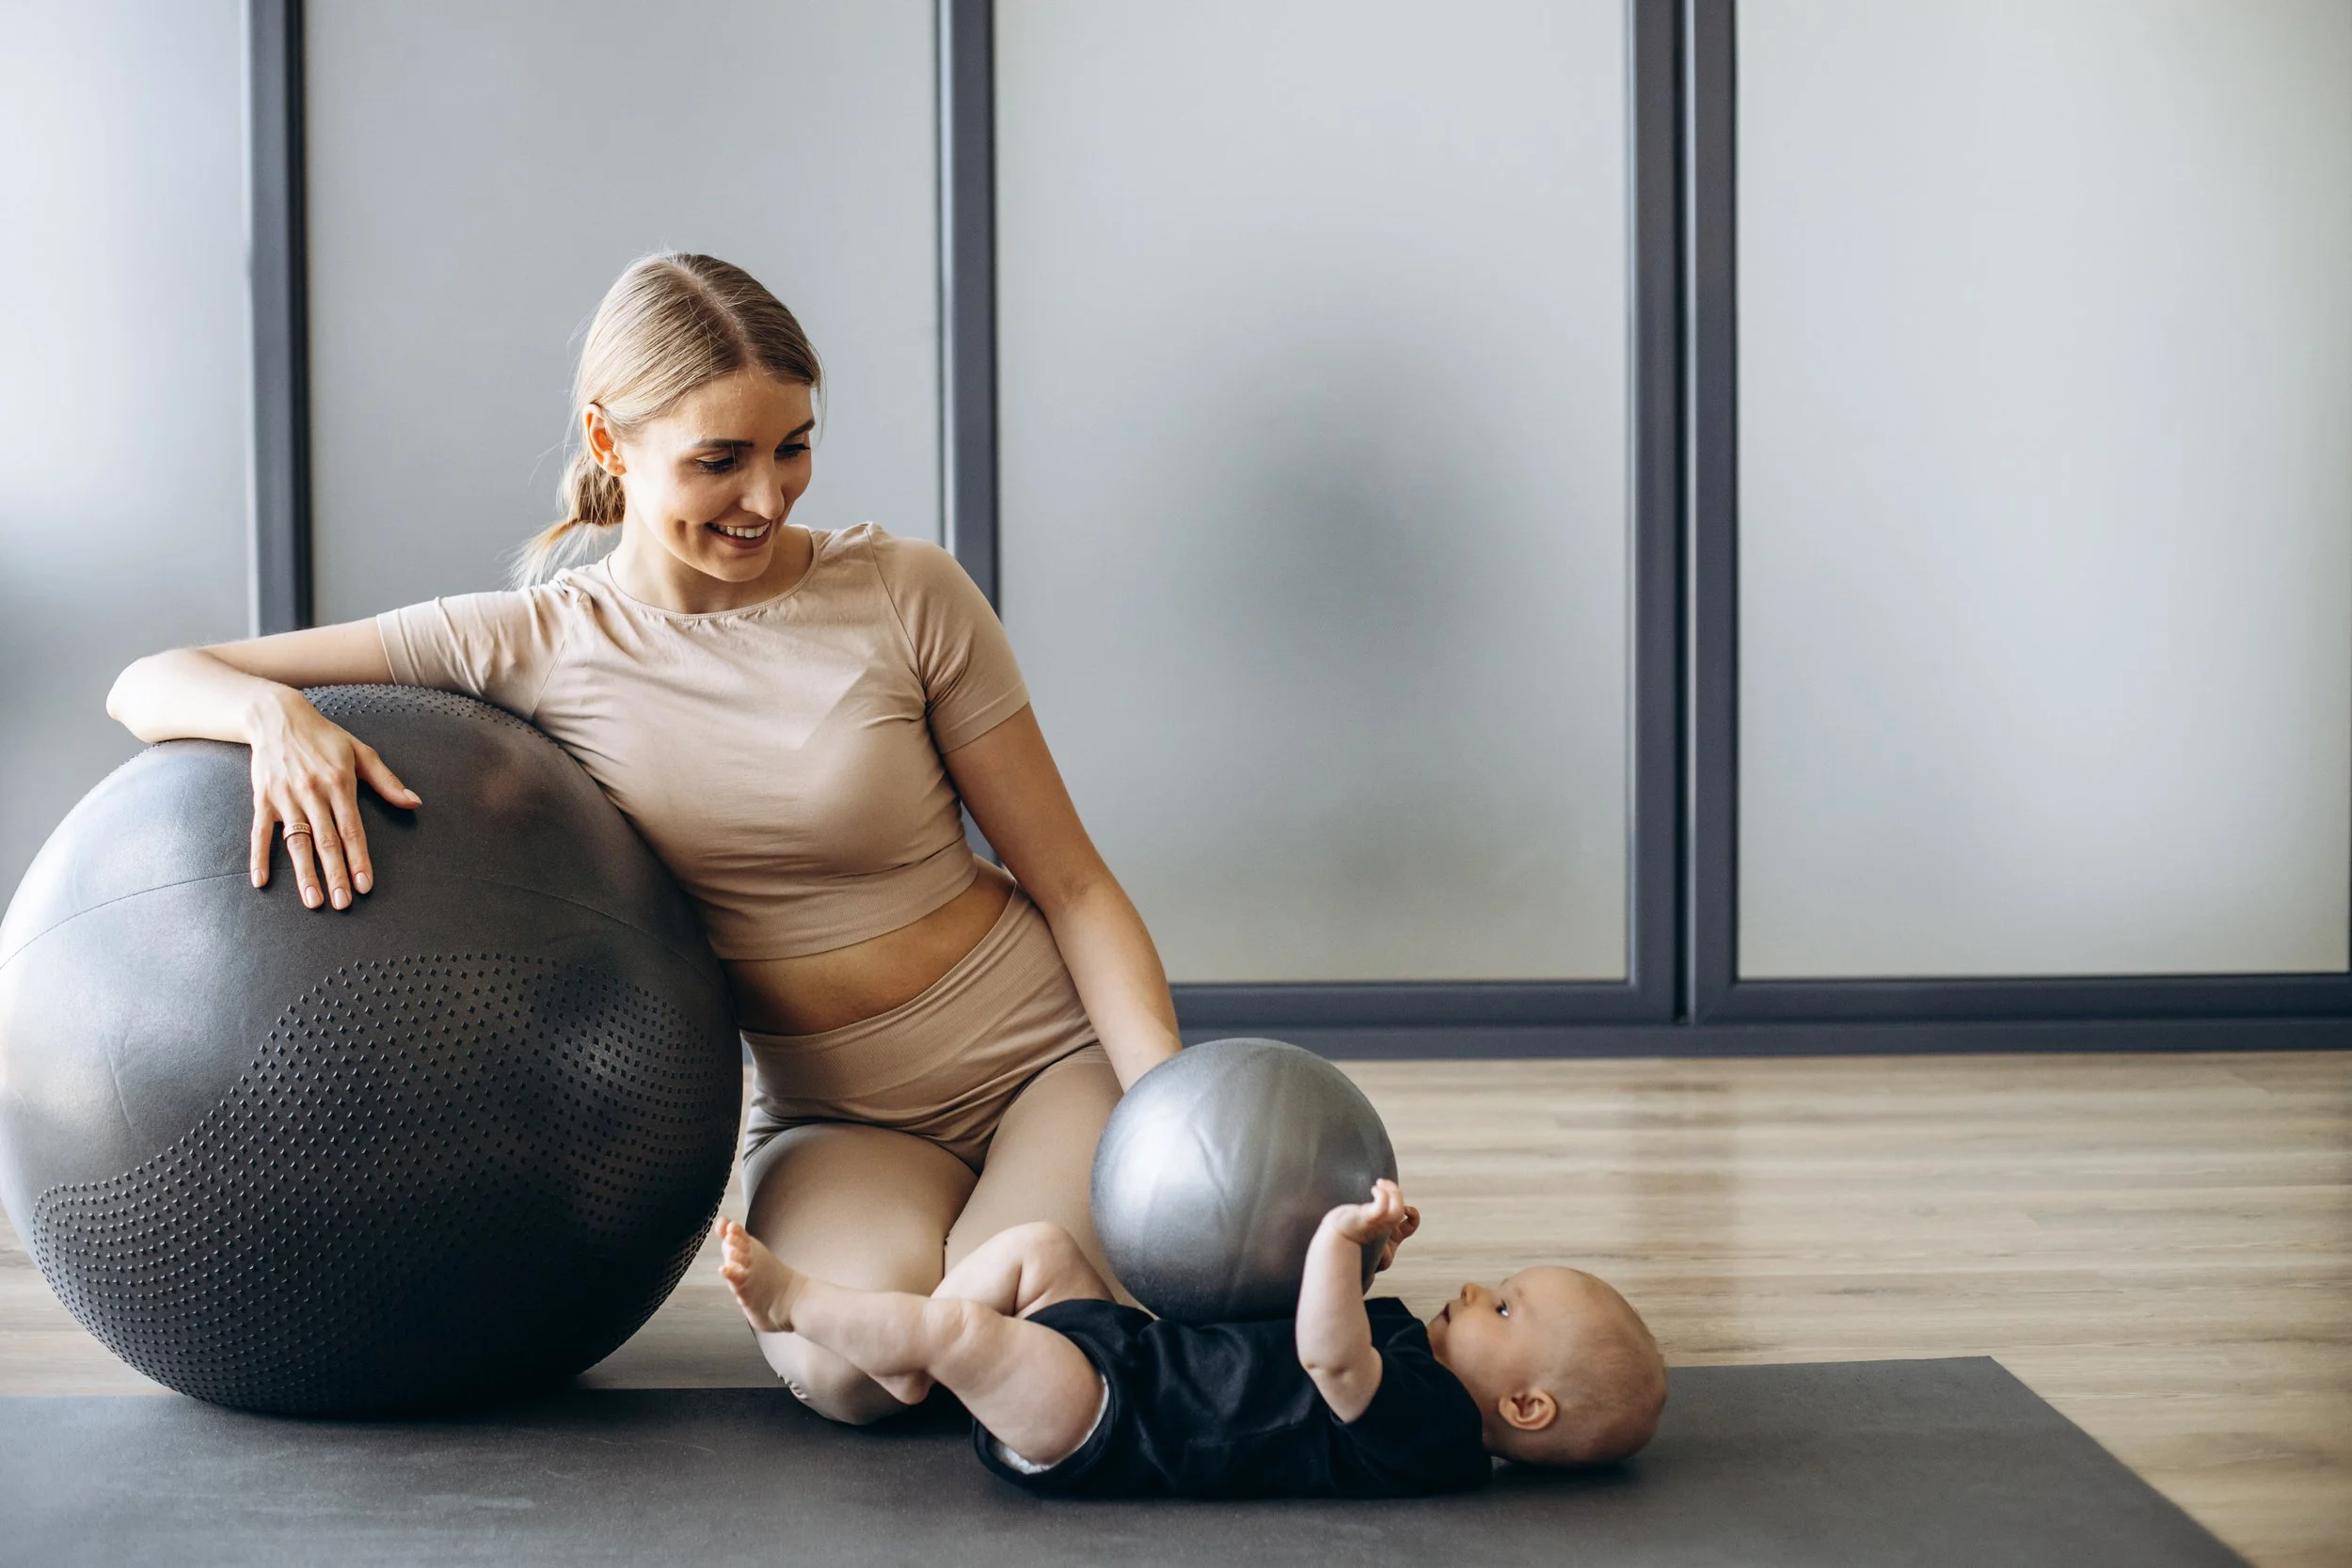
This article provides effective Pilates exercises that are safe and beneficial for new mothers recovering from childbirth. The focus is on stabilizing the core and pelvis, improving alignment, and gradually rebuilding strength in the hips, back, and abdominal muscles. With modifications and awareness of the body's postpartum limitations, Pilates can be an excellent option for relieving lingering SI joint pain on the road to recovery.
safe exercises during postpartum recovery.
Diaphragmatic Breathing
Starting Position:
Visualization: Picture the diaphragm as a dome-shaped muscle separating the chest (ribcage) from the abdomen, even though it's not physically felt.
Awareness: Stand or sit upright and place a scarf or band around the lower ribcage, gently pulling both ends to draw attention to the diaphragmatic area.
Inhalation
Focus: Direct your attention to the back and sides of the ribcage where the lungs are situated.
Breathing In: Inhale through your nose, visualizing your lungs expanding like slowly inflating balloons, feeling the scarf tighten.
Avoid Force: Do not force inhalation; it should be natural.
Diaphragm Action: Simultaneously, the diaphragm descends into the abdominal region, expanding the ribcage outward.
Exhalation
Expelling Air: Exhale through your mouth, sensing air gently leaving from the depths of your lungs.
Diaphragm Rising: Feel your diaphragm rising as you engage your deep abdominal muscles, gradually closing the ribcage.
Avoid Tension: Refrain from puffing cheeks or pursing lips to prevent tension in the neck, jaw, and face.
Benefits: Diaphragmatic breathing enhances breath control and posture, facilitating ease of movement and overall well-being.
Pelvic Elevator Exercise
Starting Position
Sit upright on a chair with your feet planted on the floor, either hip-width apart or with inner thighs touching.
Distribute your weight evenly on both sitting bones and maintain a neutral, elongated spine.
Preparation
Take deep breaths, expanding your ribcage, and elongate your spine.
Exhale while imagining closing elevator doors and ascending to the first floor.
Initiate the lift by contracting from the back passage (as if holding back gas) and gradually shift this sensation forward toward the pubic bone (as if preventing urine release).
Continue to gently engage these muscles.
Inhale, maintaining the elevator on the first floor with closed doors.
Second Level:
Exhale as you rise to the second floor, slightly intensifying the pelvic floor engagement.
Inhale and hold the elevator at the second floor.
Third Level:
Exhale as you reach the third floor, engaging the pelvic floor muscles a bit more, without excessive tension.
Inhale while keeping the elevator on the third floor.
Descending:
Exhale gradually, lowering the elevator one floor at a time until reaching the ground floor.
Open the doors slowly, releasing the pelvic floor with control.
Repetition: Repeat this cycle up to five times.
Guidance:
Avoid forceful or overly tight contractions; maintain a gentle engagement.
Keep the buttock muscles relaxed, ensuring the pelvis remains steady.
Maintain an open chest and relaxed shoulders, preventing neck tension.
Continuously breathe; refrain from holding your breath throughout the exercise.
Benefits: Enhances pelvic floor awareness, control, and strength.
Leg Slides
Here's how to perform Leg Slides:
Start by lying on your back with your knees bent and feet flat on the mat. Keep your arms relaxed by your sides. (However to begin with, you may want to place your hands on your pelvis to check for unwanted movement).
Breathe in, preparing your body to move.
Breathe out as you gently connect to your centre by applying the Zip and Abdominal Hollowing [HERE]. Maintain an appropriate level of connection to your centre throughout.
Take a deep breath to prepare, and as you exhale, slide one foot forward along the mat, aiming to extend that leg straight while maintaining stability in the pelvis and a neutral spine.
Inhale as you smoothly return the leg back to the starting position, maintaining control and awareness of your movements.
Repeat the exercise with the other leg, sliding it along the mat while keeping the pelvis stable and the core engaged.
When performing Leg Slides, pay attention to the following key points:
Maintain a stable pelvis throughout the movement, avoiding any excessive tilting or movement in the hips.
Keep your core muscles activated to provide support and stability to the spine and pelvis.
Focus on lengthening through the extended leg while maintaining proper alignment and control. Breathe naturally throughout the exercise, coordinating your breath with the movement.
Knee Openings
Here's how to perform Knee Openings:
Begin by lying on your back with your knees bent and feet flat on the mat, hip-width apart.
Keep your arms relaxed by your sides. (However to begin with, you may want to place your hands on your pelvis to check for unwanted movement).
Breathe in, to prepare.
Breathe out as you gently connect to your centre.
Breathe in, preparing your body to move and maintain an appropriate level of connection to your centre throughout.
Breathe out as you allow one knee to open slowly to the side, keeping the foot down on the mat but allowing the foot to roll to its outer side. Open as far as you can without moving the pelvis.
Breathe in as you bring the knee back to the Starting Position.
Continue alternating sides, ensuring a smooth and controlled motion.
Repeat five times with each leg
When performing Knee Openings, keep the following tips in mind:
Keep your pelvis and spine still and centred throughout. Focus on your leg moving in isolation from the rest of your body.
Move your leg as far as you can without disturbing the pelvis and losing neutral.
Focus on your waist remaining long and even on both sides.
Keep your chest and the front of your shoulders open and avoid any tension in your neck area.
Remain still in the supporting leg, without tension.
Single Knee Folds
Here's how to perform Single Knee Folds:
Begin by lying on your back with your knees bent and feet flat on the mat. Keep your arms relaxed by your sides. (However to begin with, you may want to place your hands on your pelvis to check for unwanted movement.)
Breathe in, to prepare.
Breathe out as you gently connect to your centre.
Breathe in, preparing your body to move and maintain an appropriate level of connection to your centre throughout.
Breathe out as you lift your right foot off the mat and fold the knee up towards your body. Allow the weight of the leg to drop down into your hip socket and remain grounded in your pelvis and long in your spine.
Breathe in, maintaining a stable pelvis and neutral spine.
Breathe out as you slowly return the leg back down and your foot to the mat, maintaining control and engaging the core.
Continue alternating between the two legs.
Repeat five times with each leg.
As you perform Single Knee Folds, focus on the following key points:
Keep your pelvis stable and avoid any excessive movement or tilting.
Maintain a neutral spine, avoiding any arching or flattening of the lower back.
Engage your deep core muscles throughout the exercise to support and control the movement.
Breathe naturally, coordinating your breath with the movement.
Knee Circles
Here's how to perform Knee Circles:
Begin with Proper Alignment: Start by positioning yourself correctly in the Relaxation Position [HERE]
Prepare Your Leg: Gently fold one leg towards your body, ensuring controlled movement. Bend the knee further, allowing the lower leg to fully relax. Maintain a connection to your centre throughout the exercise.
Initiate the Circles: Breathe naturally and move at your own pace. Start circling your leg towards the mid-line of your body. Continue the circle down, around, and back up to the starting position. Keep the leg as close to your body as possible without disturbing your pelvis.
Change Direction: Complete up to five repetitions in one direction. Then, reverse the circle's direction.
Return to Starting Position; Conclude the exercise by bringing your knee in line with your hip joint. Ensure a stable pelvis as you lower your leg back to the mat. Return to the Relaxation Position.
Repeat on the Other Side: Perform the same sequence with the other leg, doing five repetitions in each direction.
As you perform Knee Circles, focus on the following key points:
Focus on maintaining a stable pelvis and spine throughout the exercise.
Keep the supporting leg still without any unnecessary tension.
Keep your chest open, and avoid tension in your neck area.
Begin with small circles (approximately the size of a grapefruit) and gradually increase the circle's size as you gain better control.
Spine Curls
Here's how to perform Spine Curls:
Align yourself correctly in the Relaxation Position, lengthening your arms by the side of your body on the mat. Maintain an appropriate level of connection to your centre throughout.
Breathe in, preparing your body to move.
Breathe out as you curl your pelvis underneath you, imprinting your lower back into the mat before beginning to wheel it off the mat one vertebra at a time. Roll your spine sequentially up from the mat to the tips of the shoulder blades.
Breathe in and hold this position, focusing on the length in your spine.
Breathe out as you roll the spine back down, softening the breastbone and wheeling once again carefully through each section.
Breathe in as you release the pelvis back to a neutral position.
Repeat up to ten times.
When performing Spine Curls, keep these tips in mind:
Focus on wheeling your spine off the mat vertebra by vertebra.
Control the sequential return of your spine back down to the mat.
Avoid rolling up too far, maintain the connection of your ribs to your pelvis and avoid arching your spine.
Ensure there is equal weight through both feet; this will help to prevent your pelvis dipping to either side.
Try to avoid 'hitching' your pelvis up towards your ribcage.
Knee Rolls
Here's how to perform Knee Rolls:
Align yourself correctly in the Relaxation Position. Position your legs slightly wider than hip-width apart. Reach your arms out on the mat slightly lower than shoulder height with your palms facing down. Maintain an appropriate level of connection to your centre throughout.
Breathe in, preparing your body to move.
Breathe out as you roll your left leg in from the hip joint and simultaneously roll the right leg out, also from the hip joint. Both knees will therefore roll to the right; allow your feet to peel slightly off the mat.
Breathe out and return both legs back to the centre at the same time.
Repeat to the other side and then repeat the whole sequence up to five times.
When performing Knee Rolls, keep these tips in mind:
Unlike Hip Rolls, the initiation for this action should come from the legs, specifically the top of your thigh in the hip socket.
Attempt to keep your pelvis still and square; although there will be slight reactionary movement, it is not your main objective to rotate the pelvis and spine.
Although you should have a sense of release in your hip joints, control the movement of your legs and don't just allow them to 'drop' to the side.
Ribcage Closure
Here's how to perform Ribcage Closure:
Align yourself correctly in the Relaxation Position. Maintain an appropriate level of connection to your centre throughout.
Breathe in and raise both arms to a vertical position above your chest, palms facing forwards.
Breathe out. Maintaining a stable and still spine, reach both arms overhead towards the floor. Keep your neck long and encourage the softening and the closing of the ribcage during this exhalation.
Breathe in as you return the arms above your chest. Feel your ribcage heavy and your chest open.
Breathe out and lower the arms, returning them to the mat and lengthening them by the sides of your body.
Repeat up to ten times.
When performing Ribcage Closure, keep these tips in mind:
Keep your pelvis and spine stable and still throughout. Be particularly careful not to allow your upper spine to arch as you reach your arms overhead.
Although your shoulder blades will naturally glide upwards on the back of your ribcage as your arms rise, do not over-elevate your shoulders.
It is equally as important not to depress your shoulders down your back; simply allow them to move naturally and without tension.
Fully lengthen your arms but avoid locking your elbows.
Keep your neck long and free from tension.
Zigzags - Lying
Here's how to perform Zigzags - Lying:
Align yourself correctly in the Relaxation Position and place your feet up onto a wall. Ideally your thighs will be vertical and your shins will be horizontal; your pelvis and spine remain in neutral. Bring your legs together and connect your inner thighs; the soles of your feet are flat against the wall. Maintain an appropriate level of connection to your centre throughout.
Breathe in as you turn your legs out slightly from your hips, opening your knees and sliding your feet to a small 'V' position; keep the heels together.
Breathe out as you turn the legs in, again moving from your hip joints and drawing your knees naturally towards one another; your heels will slide away from one another.
Continue to 'zigzag' your legs and feet up to six times until the legs are at a comfortable distance apart.
Reverse the movement and, in the same amount of repetitions, 'zigzag' the legs back to the Starting Position.
Repeat up to ten times.
When performing Zigzags - Lying, keep these tips in mind:
Keep your pelvis and spine stable and still throughout; focus on the independent movement of the thigh bone in the hip socket.
Although you should have a sense of release in your hip joints, control the movement of your legs and don't just allow them to 'drop' to the side.
Maintain correct alignment of the legs; your feet, knees and hips should remain correctly aligned and move together.
Avoid lifting your feet off the wall; allow the soles of your feet to slide.
Keep your chest and the front of your shoulders open and avoid any tension in your neck area.
Creeping Feet
Here's how to perform Creeping Feet:
Align yourself correctly in the Relaxation Position and place your feet up onto a wall. Ideally your thighs will be vertical and your shins will be horizontal; your pelvis and spine remain in neutral. Place your legs hip-width apart and parallel, the soles of your feet are flat against the wall. This exercise can also be performed sitting upright on a chair, with your feet hip-width apart on the floor. Maintain an appropriate level of connection to your centre throughout.
Breathe naturally throughout.
Pick up your toes and spread your feet and toes as wide as possible onto the wall, and then lift up the arches of the feet and glide the heels up the wall. Maintain contact of the feet to the wall throughout.
Repeat as above and continue creeping your feet up the wall until they can no longer stay flat.
Bend your knees and slide your feet back down the wall, returning to the Starting Position.
Repeat up to ten times.
When performing Creeping Feet, keep these tips in mind:
Avoid over-curling the toes and creating tension; try to keep the action in the arches of the feet.
Ensure that your feet remain evenly grounded and aligned on the wall and do not roll out or in.
Maintain correct alignment of your hips, knees and ankles.
The Cat
Here's how to perform The Cat:
Align yourself correctly in the Four-point Kneeling Position: Hands directly underneath your shoulders and your knees directly beneath your hips. Maintain an appropriate level of connection to your centre throughout.
Breathe in, preparing your body to move, and lengthen your spine.
Breathe out as you roll your pelvis underneath you, as if directing your tailbone between your legs; as you do so, your lower back will gently round and flex. Continue this flexion and allow your upper back to round gradually, followed by your neck, and finally nod your head slightly forwards. This position is a C-Curve, an even and balanced C-shape of the spine.
Breathe in wide to the lower ribcage to help maintain this lengthened C-Curve.
Breathe out as you simultaneously start to unravel the spine, sending the tailbone away from you, bringing the pelvis back to neutral as you also lengthen the head and upper spine back to the starting neutral position.
Repeat up to ten times.
When performing The Cat, keep the following tips in mind:
Aim for an elongated C-Curve, which is evenly flexed throughout the spine. A common mistake is to round the upper back too much.
Similarly ensure that you do not over-round the shoulders. Maintain the distance between your ears and shoulders.
Keep the head following the same curved line of the spine; do not drop it down too far.
Star (preparation)
Here's how to perform Star (preparation):
Lie face down, ensuring your pelvis and spine are in a neutral position. Rest your forehead on the mat. Straighten your legs, positioning them slightly wider than hip-width apart, and rotate them outward from the hips. Extend both arms above your head, spacing them slightly wider than your shoulders, and place your palms facing downward. Maintain a consistent connection to your core throughout the exercise.
Inhale deeply and elongate your spine.
Exhale and gently lift one arm and the opposite leg off the mat.
Inhale again as you lower your arm and leg, all the while maintaining the length of your upper body.
Repeat this movement up to ten times, alternating between arms and legs.
When performing Star (preparation), keep the following tips in mind:
Keep your abdominal muscles engaged.
Lift your arm and leg only as high as you can while ensuring your pelvis and spine remain stable.
Concentrate on extending your leg away from the hip socket.
Waist Twist Standing
Here's how to perform Waist Twist Standing:
Stand tall on the floor (not on your mat) and lengthen your spine into neutral. Your legs are in parallel and hip-width apart. Fold your arms in front of your chest, just below shoulder height. One palm is on top of the opposite elbow and the other hand is positioned underneath the opposite elbow. Maintain an appropriate level of connection to your centre throughout.
Breathe in, preparing your body to move, and lengthen your spine.
Breathe out as you initiate with a turn of the head and rotate your torso fully to the left. Keep your pelvis stable and keep lengthening up through the crown of the head.
Breathe in as you continue to lengthen your spine and rotate back to the Starting Position.
Repeat five times to each side.
When performing Waist Twist Standing, keep these tips in mind:
Your pelvis should remain still. Keep the weight even on your feet and maintain their contact with the floor throughout.
Focus on engaging your deep abdominals to help support your spine as you rotate and return.
The movement is pure rotation. Continue to keep the spine lengthening vertically and avoid arching in your back or shortening in your waist.
Carry your arms with the spine; do not allow them to lead the movement.
Allow maximum rotation of the head and neck, but ensure length throughout.
Side Reach Standing
Here's how to perform Side Reach Standing:
Stand tall on the floor (not on your mat) and lengthen your spine into neutral. Your legs are in parallel and hip-width apart. Allow your arms to lengthen down by the sides of your body. Maintain an appropriate level of connection to your centre throughout.
Breathe in as you raise your right arm out to the side and overhead.
Breathe out as you reach up and over, leading with your head, sequentially bending your spine to the left. Maintain the relationship between the right arm and your head. Your left arm will remain lengthened and slide down the outside of your left leg.
Breathe in. Maintain the length and position of your spine and focus on breathing laterally.
Breathe out as you return the spine back to the vertical position. Lower your right arm down by your side.
Repeat five times to each side.
When performing Side Reach Standing, keep these tips in mind:
As you side-bend, initiate the movement with your head, followed sequentially by your ribcage. As you return, initiate the movement from your centre.
The side bend should be a lengthened position; avoid any compression and feel support from the abdominals.
Ensure that you have moved in one plane only and not curved forward or arched back.
Maintain openness across your chest and the back of your shoulders, avoiding over reaching with your arms. Keep a relationship between the shoulders and the back of your ribcage; neither force them to depress, nor allow them to over-elevate.
Keep your shoulders and neck free from tension throughout.
Keep your head and neck in line with the rest of your spine.
Tennis Ball Rising
Here's how to perform Tennis Ball Rising:
Stand tall on the floor (not on your mat) and lengthen your spine into neutral. Your legs are in parallel and slightly closer than hip-width apart; place a tennis ball in between your ankles, just below the inside ankle bones.
If necessary, stand sideways on to a wall and place your hand on the wall slightly in front of your body to help maintain balance. Maintain an appropriate level of connection to your centre throughout.
Breathe in, preparing your body to move, and lengthen your spine.
Breathe out and rise up onto the balls of your feet, lifting your heels off the floor. Keep your spine lengthened and stable and maintain the position of the ball in between your ankles.
Breathe in. With control and maintaining length, lower your heels back down to the floor.
Breathe out as you bend your knees, keeping your heels firmly on the floor.
Breathe in as you straighten your legs and return to the Starting Position.
Repeat up to ten times.
When performing Tennis Ball Rising, keep these tips in mind:
Maintain a neutral pelvis and spine throughout. Remain long in your waist and keep a sense of your spine lengthening up and away.
Fully lengthen your legs but avoid locking your knees.
Keep your weight balanced evenly on both feet. Also, do not allow your feet to roll either in or out.
Mexican Wave
Here's how to perform the Mexican Wave:
Stand tall on the floor (not on your mat) and lengthen your spine into neutral. Your legs are in parallel and hip-width apart. Allow your arms to lengthen down by the sides of your body. This exercise can also be performed sitting upright on a chair, with your feet grounded hip-width apart on the floor. Maintain an appropriate level of connection to your centre throughout.
Breathe naturally throughout.
First, lift only your big toes off the floor, keeping the rest of your toes down.
Then, try to lift your toes one at a time in sequence until all of the toes have peeled off the floor.
Replace your toes back down in sequence, starting with the little toe and spacing them out as wide as possible.
Reverse the movement: raise the little toes first, continuing one toe at a time to the big toe.
Repeat up to five times, either working the feet separately or both together.
When performing the Mexican Wave, keep these tips in mind:
Maintain correct alignment of your leg: ensure that your foot, ankle and knee remain in line with your hip.
Continue to maintain a stable and lengthened vertical position of your pelvis and spine throughout.
Keep your chest and the front of your shoulders open and avoid any tension in your neck area.
Ankle Circles
Here's how to perform Ankle Circles:
Align yourself correctly in the Relaxation Position. Fold one leg in towards your body with stability. Clasp your hands lightly behind your thigh and lift your lower leg up slightly so that your foot is higher than your knee. This exercise can also be performed sitting upright on the mat with your legs lengthened out in front of you and your arms reaching behind your body with your hands resting on the mat for support. Maintain an appropriate level of connection to your centre throughout.
Breathe naturally throughout.
Keeping your leg still, flex your foot by moving only your ankle joint and circle your foot outwards. Complete a full circle, trying to keep your foot and toes lengthened and free from tension.
Repeat the ankle circle up to five times and then reverse the direction and circle the ankle up to five times inwards.
Repeat on the other ankle, up to five times in each direction.
When performing Ankle Circles, keep the following tips in mind:
Maintain a neutral pelvis and spine throughout. Particularly avoid twisting your pelvis or side-bending your spine as you reach to hold your leg.
Keep your thigh and shins still and correctly aligned throughout.
Remember, you want the circle to come purely from your ankle.
Try to keep your toes from being 'over-active'.
In the postpartum period, Pilates offers new mothers a way to gently rehabilitate the core and pelvis while addressing common SI joint pain. With professional guidance on proper form and technique, Pilates exercises can stabilize, strengthen, and bring the body back into alignment. While honouring the body's limitations, a customized Pilates routine helps safely rebuild the muscles surrounding the SI joint and provides an active path to healing. Along with other lifestyle measures, Pilates is an effective option for relieving SI discomfort and restoring balance to the pelvis after pregnancy and delivery. Above all, new mothers should listen to their bodies, ease back into exercise at an appropriate pace, and use Pilates as a tool to support the body's remarkable postpartum recovery.